Timelord
Member
- Oct 29, 2012
- 543
- 0
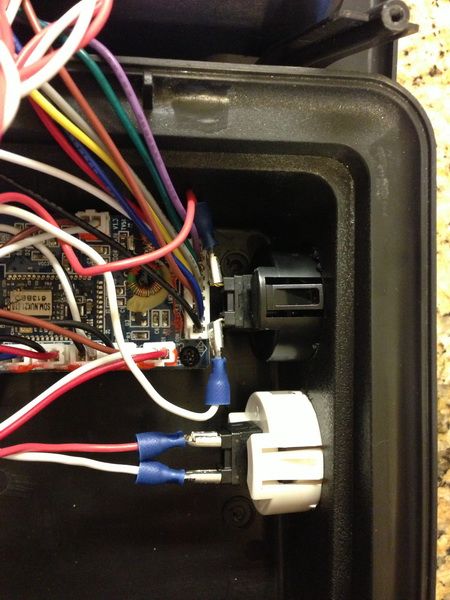
Here's the actual hardware I spec'd in many Midway/Bally Arcades cabinets, abiet a newer more precise movement and feel. They are reliability tested to 10,000,000 cycles and cost less than the ones linked above. The are repairable when the microswitch finally fails.
The older style used in the vintage machines are also available from the same source and have the same mtbf rating.
Why go with anything less than the original specs when they are just as cheap or cheaper.
http://na.suzohapp.com/pushbuttons/539200xx.htm
Timelord ...
The older style used in the vintage machines are also available from the same source and have the same mtbf rating.
Why go with anything less than the original specs when they are just as cheap or cheaper.
http://na.suzohapp.com/pushbuttons/539200xx.htm
Timelord ...
")